Build a Cat vs Dog Image Classifier: 4-Step Masterclass (No Setup Needed!)
Interested in machine learning but intimidated by complex setups? This tutorial guides you step-by-step on how to build a Cat vs Dog Image Classifier using Google Colab’s free resources. By the end, you’ll have built a model that can distinguish between cats and dogs – a foundational skill that opens doors to countless AI applications.
Introduction: What is Image Classification and Why Does it Matter?
Image classification is a fundamental computer vision task where an algorithm learns to categorize images into predefined classes. It’s the technology behind countless real-world applications:
- Medical diagnostics (identifying diseases in X-rays or MRIs)
- Agricultural monitoring (detecting crop diseases)
- Autonomous vehicles (recognizing pedestrians, traffic signs)
- Quality control in manufacturing (spotting defects)
- Security systems (facial recognition)
- Wildlife conservation (identifying animal species in camera traps)
The ability to automatically classify images has transformed industries by automating tasks that once required human visual inspection. And the best part? With modern tools like Google Colab and deep learning frameworks, you can build your own image classifier without expensive hardware or complex software setup.
Why Use Google Colab for Image Classification Projects?
Google Colab (short for Colaboratory) offers several advantages that make it ideal for building image classifiers:
- Free GPU access: Training neural networks on images requires significant computational power. Colab provides free access to GPUs that drastically reduce training time.
- Zero setup required: Everything runs in the cloud through your browser – no need to install Python, deep learning libraries, or configure drivers.
- Pre-installed ML libraries: TensorFlow, Keras, PyTorch, and other essential libraries come pre-installed.
- Easy data handling: Simple integration with Google Drive and other data sources.
- Shareable notebooks: Great for collaboration or showcasing your work.
Let’s harness these benefits to build our cat vs. dog image classifier!
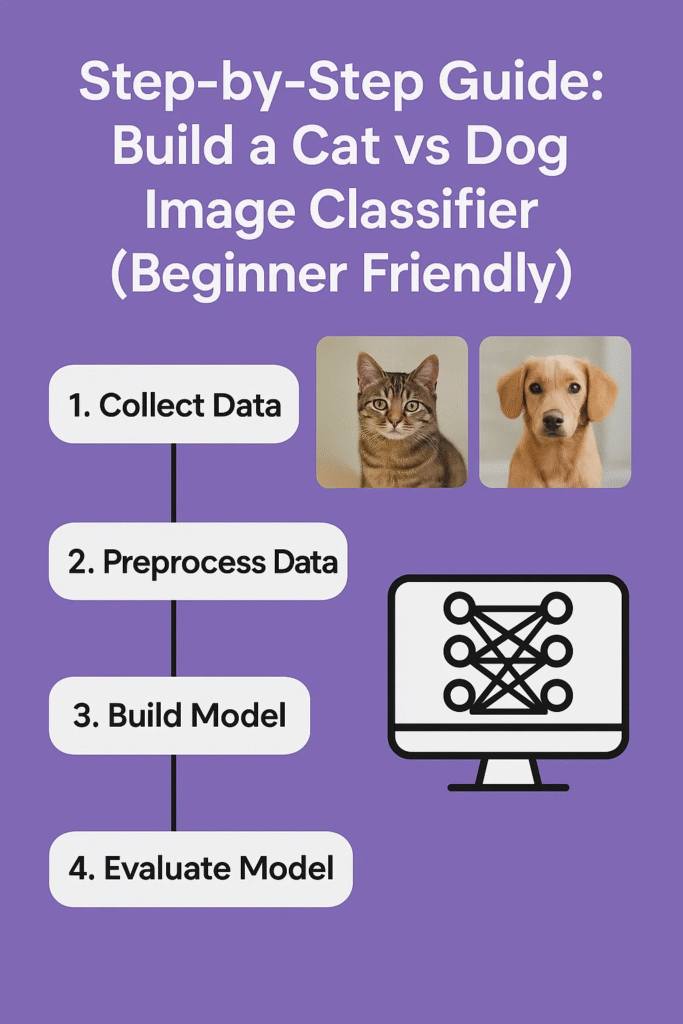
Step-by-Step Guide to Build a Cat vs Dog Image Classifier
1. Setting Up Google Colab and Checking for GPU
First, let’s make sure we have access to GPU acceleration:
- Go to Google Colab
- Create a new notebook
- Configure it to use GPU by going to: Runtime → Change runtime type → Hardware accelerator → GPU
Let’s verify we have GPU access with this code:
import tensorflow as tf

# Check if GPU is available
print("TensorFlow version:", tf.__version__)
print("GPU Available: ", tf.config.list_physical_devices('GPU'))

# If GPU is available, you should see something like:
# [PhysicalDevice(name='/physical_device:GPU:0', device_type='GPU')]
2. Accessing the Dataset: Cats vs. Dogs
For this tutorial, we’ll use the classic Cats vs. Dogs dataset. Rather than downloading it manually, we’ll use TensorFlow’s datasets API:
import tensorflow_datasets as tfds

# Load the cats_vs_dogs dataset
(train_ds, validation_ds), info = tfds.load(
    'cats_vs_dogs',
    split=['train[:80%]', 'train[80%:]'],
    as_supervised=True,
    with_info=True,
)

# Get class names
class_names = ['cat', 'dog']

# Display dataset info
print(info)

# Show the number of examples
print(f"Total training examples: {info.splits['train'].num_examples * 0.8}")
print(f"Total validation examples: {info.splits['train'].num_examples * 0.2}")
Let’s visualize a few images from our dataset:
import matplotlib.pyplot as plt

plt.figure(figsize=(10, 10))
for i, (image, label) in enumerate(train_ds.take(9)):
    ax = plt.subplot(3, 3, i + 1)
    plt.imshow(image)
    plt.title(class_names[label])
    plt.axis("off")
plt.show()
3. Preprocessing and Augmenting Image Data
To improve our model’s performance and prevent overfitting, we need to:
- Resize images to a consistent size
- Normalize pixel values to be between 0 and 1
- Apply data augmentation (random transformations)
IMG_SIZE = 160  # All images will be resized to 160x160

def preprocess_image(image, label):
    # Resize the image
    image = tf.image.resize(image, (IMG_SIZE, IMG_SIZE))
    # Normalize pixel values to [0,1]
    image = image / 255.0
    return image, label

# Apply preprocessing to datasets
train_ds = train_ds.map(preprocess_image)
validation_ds = validation_ds.map(preprocess_image)

# Optimize for performance
BATCH_SIZE = 32
AUTOTUNE = tf.data.AUTOTUNE

train_ds = train_ds.cache().shuffle(1000).batch(BATCH_SIZE).prefetch(AUTOTUNE)
validation_ds = validation_ds.cache().batch(BATCH_SIZE).prefetch(AUTOTUNE)

# Create data augmentation layer
data_augmentation = tf.keras.Sequential([
    tf.keras.layers.RandomFlip('horizontal'),
    tf.keras.layers.RandomRotation(0.2),
    tf.keras.layers.RandomZoom(0.2),
])

# Visualize augmented images
plt.figure(figsize=(10, 10))
for image, label in train_ds.take(1):
    first_image = image[0]
    for i in range(9):
        ax = plt.subplot(3, 3, i + 1)
        augmented_image = data_augmentation(tf.expand_dims(first_image, 0))
        plt.imshow(augmented_image[0])
        plt.title(class_names[label[0]])
        plt.axis('off')
plt.show()
4. Building the CNN Model with Transfer Learning
Rather than building a CNN from scratch, we’ll use transfer learning with a pre-trained model called MobileNetV2. This approach leverages knowledge from a model already trained on millions of images:
# Create the base model from a pre-trained model
base_model = tf.keras.applications.MobileNetV2(
    input_shape=(IMG_SIZE, IMG_SIZE, 3),
    include_top=False,
    weights='imagenet'
)

# Freeze the base model
base_model.trainable = False

# Create the model architecture
model = tf.keras.Sequential([
    # Input layer
    tf.keras.layers.Input(shape=(IMG_SIZE, IMG_SIZE, 3)),

    # Data augmentation layers
    data_augmentation,

    # Pre-trained MobileNetV2 model
    base_model,

    # Custom classification head
    tf.keras.layers.GlobalAveragePooling2D(),
    tf.keras.layers.Dropout(0.2),
    tf.keras.layers.Dense(1, activation='sigmoid')  # Binary classification
])

# Compile the model
model.compile(
    optimizer=tf.keras.optimizers.Adam(learning_rate=0.0001),
    loss=tf.keras.losses.BinaryCrossentropy(),
    metrics=['accuracy']
)

# Display the model summary
model.summary()
5. Training and Evaluating the Model
Now let’s train our model:
# Set up callbacks for early stopping and saving the best model
callbacks = [
    tf.keras.callbacks.EarlyStopping(patience=3, restore_best_weights=True),
    tf.keras.callbacks.ModelCheckpoint(
        filepath='cats_vs_dogs_model.h5',
        save_best_only=True,
        monitor='val_accuracy'
    )
]

# Train the model
EPOCHS = 10
history = model.fit(
    train_ds,
    validation_data=validation_ds,
    epochs=EPOCHS,
    callbacks=callbacks
)

# Plot training results
acc = history.history['accuracy']
val_acc = history.history['val_accuracy']
loss = history.history['loss']
val_loss = history.history['val_loss']

plt.figure(figsize=(12, 4))

plt.subplot(1, 2, 1)
plt.plot(range(len(acc)), acc, label='Training Accuracy')
plt.plot(range(len(val_acc)), val_acc, label='Validation Accuracy')
plt.legend()
plt.title('Accuracy')

plt.subplot(1, 2, 2)
plt.plot(range(len(loss)), loss, label='Training Loss')
plt.plot(range(len(val_loss)), val_loss, label='Validation Loss')
plt.legend()
plt.title('Loss')

plt.show()
6. Testing on New Images
Let’s see how our model performs on images it hasn’t seen before:
from google.colab import files
import numpy as np
from PIL import Image
import io

# Function to load and preprocess an image
def load_and_preprocess_image(image_path):
    img = tf.keras.preprocessing.image.load_img(
        image_path, target_size=(IMG_SIZE, IMG_SIZE)
    )
    img_array = tf.keras.preprocessing.image.img_to_array(img)
    img_array = img_array / 255.0  # Normalize
    img_array = tf.expand_dims(img_array, 0)  # Create batch
    return img_array

# Option 1: Upload your own image
uploaded = files.upload()

for filename in uploaded.keys():
    # Process the image
    img_array = load_and_preprocess_image(filename)

    # Make prediction
    prediction = model.predict(img_array)
    score = prediction[0][0]

    # Display results
    plt.figure(figsize=(6, 6))
    plt.imshow(Image.open(filename))

    if score > 0.5:
        plt.title(f"Dog ({score:.2f})")
    else:
        plt.title(f"Cat ({1-score:.2f})")
    plt.axis('off')
    plt.show()
7. Saving and Reloading the Model
To save your hard work, let’s properly save the model and then demonstrate how to reload it:
# Save the model to Google Drive (optional)
from google.colab import drive
drive.mount('/content/drive')

# Save model
model_save_path = '/content/drive/My Drive/cats_vs_dogs_model'
model.save(model_save_path)

print(f"Model saved to {model_save_path}")

# Demonstrate how to reload a saved model
reloaded_model = tf.keras.models.load_model(model_save_path)

# Verify the model works
test_image = next(iter(validation_ds))[0][0:1]  # Get a test image
prediction = reloaded_model.predict(test_image)
print(f"Prediction: {class_names[int(prediction[0][0] > 0.5)]}")
Troubleshooting Common Errors
When working with image classification in Colab, you might encounter these common issues:
1. Running Out of Memory
- Symptoms: Runtime crashes, “Out of memory” errors
- Solutions:
- Reduce batch size
- Decrease image dimensions
- Use data generators instead of loading all images at once
- Restart your runtime to clear memory
2. Overfitting
- Symptoms: Training accuracy is much higher than validation accuracy
- Solutions:
- Add more data augmentation
- Increase dropout rate
- Use regularization (L1 or L2)
- Reduce model complexity
3. Poor Model Performance
- Symptoms: Low accuracy on both training and validation sets
- Solutions:
- Train for more epochs
- Unfreeze some layers of the base model for fine-tuning
- Try a different pre-trained model
- Ensure proper class balance in your dataset
# Example of fine-tuning: unfreeze the top layers of the base model
base_model.trainable = True

# Freeze all the layers except the last 4
for layer in base_model.layers[:-4]:
    layer.trainable = False

# Recompile the model with a lower learning rate
model.compile(
    optimizer=tf.keras.optimizers.Adam(learning_rate=0.00001),  # Lower learning rate
    loss=tf.keras.losses.BinaryCrossentropy(),
    metrics=['accuracy']
)

# Continue training for a few more epochs
model.fit(
    train_ds,
    validation_data=validation_ds,
    epochs=5,
    callbacks=callbacks
)
4. GPU Not Being Used
- Symptoms: Training is very slow
- Solutions:
- Check runtime type is set to GPU (Runtime → Change runtime type)
- Verify GPU is detected using the code from the beginning of this tutorial
Conclusion: Your Journey into Image Classification
Congratulations! You’ve successfully built an image classifier that can distinguish between cats and dogs using Google Colab’s free GPU resources. This fundamental skill opens doors to countless applications across industries.
The knowledge you’ve gained can be applied to:
- Creating custom classifiers for your specific needs
- Working with larger and more complex datasets
- Building more sophisticated computer vision projects
What’s next? Try extending this project by:
- Using your own dataset of images
- Adding more classes beyond just cats and dogs
- Exploring other pre-trained models like ResNet or EfficientNet
- Deploying your model to a web or mobile app
Remember that image classification is just the beginning of what’s possible with deep learning and computer vision. As you continue learning, you’ll discover even more powerful techniques.
Have you created your own image classifier? What challenges did you face? Share your experience in the comments below!
Resources for Further Learning
- TensorFlow Image Classification Tutorial
- PyTorch Transfer Learning Tutorial
- Google Colab Documentation
- Free Datasets for Image Classification